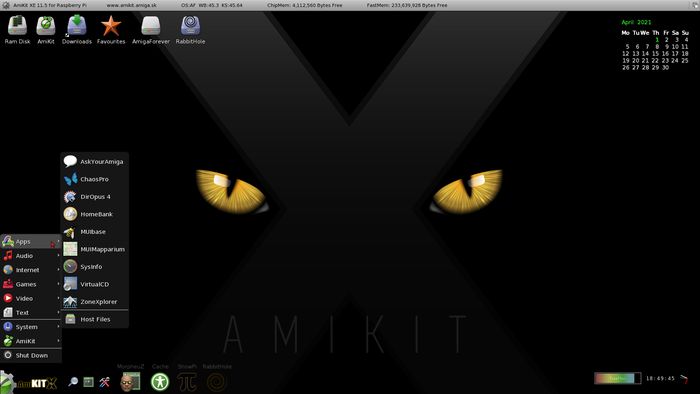
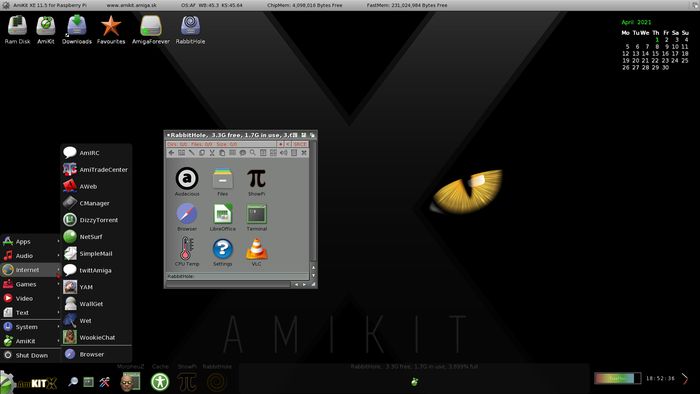
The AmiKit package for Raspberry Pi (announced some time ago and postponed - initially planned for 2020) has been released. Thanks to the author, Ján Zahurančík, I had the opportunity to test it just before its premiere. So it's time to take a look. In the text, however, I will not elaborate on the possibilities of the AmiKit package, because I have already on Exec side. This time I will focus on the specifics of the Raspberry Pi version.
First of all, a word about technical requirements - only 4B or 400 models are supported. Users of the older versions of Raspberry will be not happy, but... the difference in performance compared to the previous models is simply too big. Besides, time is running and Raspberry Pi may finally spread its wings. So, if you don't have one, please just purchase, connect and install.
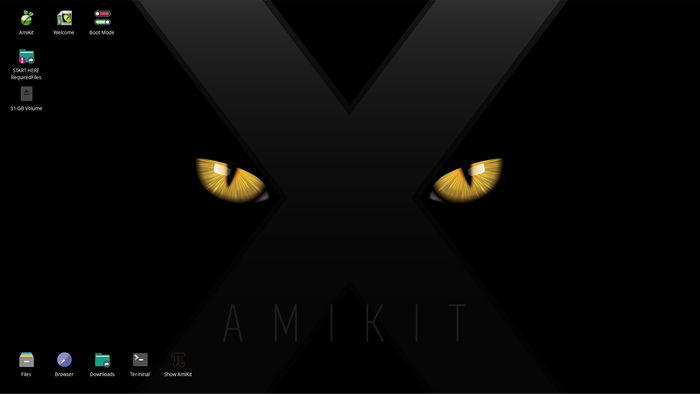
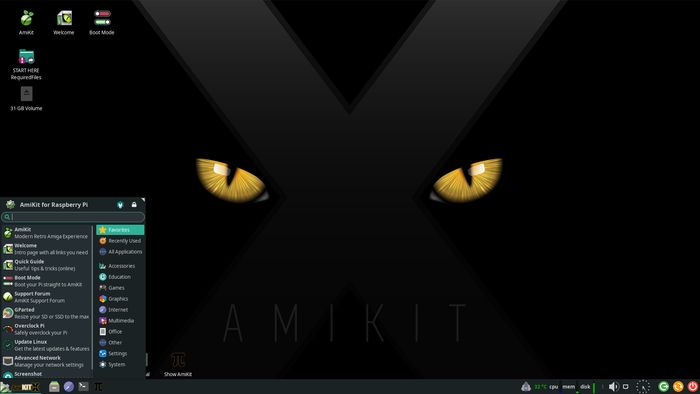
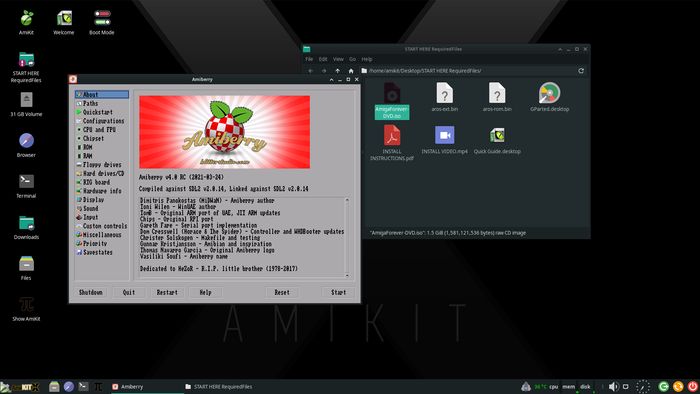
What do we have inside? As you can easily guess, it is a Linux Manjaro edition with a lightweight XFCE manager. The emulator is of course Amiberry, currently the best Amiga emulator for computers with an ARM processor. Of course, we can tweak Manjaro according to our needs. Administrator password: amikit. So we can install the necessary software, although we already get Chromium browser and Libre Office suite. You could change system language to... for example Polish.
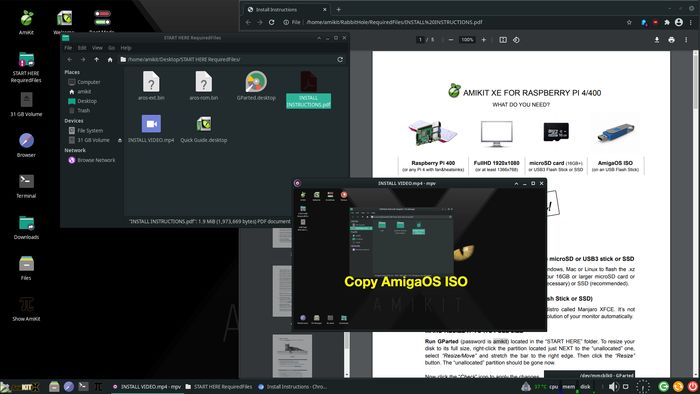
The installation itself is slightly different from the PC version and requires a bit of involvement from us. But don't worry, the author has prepared a comprehensive instruction and a video showing you how to do it step by step. Since I have succeeded, I am pretty sure that everyone could go through the installation process. Therefore, we download the installation file in the XZ format and record it on a microSD card - the absolute minimum is 16 GB, but a larger size is of course better. Please remember to not use the slowest types of cards. You can use the Raspberry Pi Imager (versions for Windows, Linux and Mac are available), select the "Use custom" option and point to the AmiKit image.
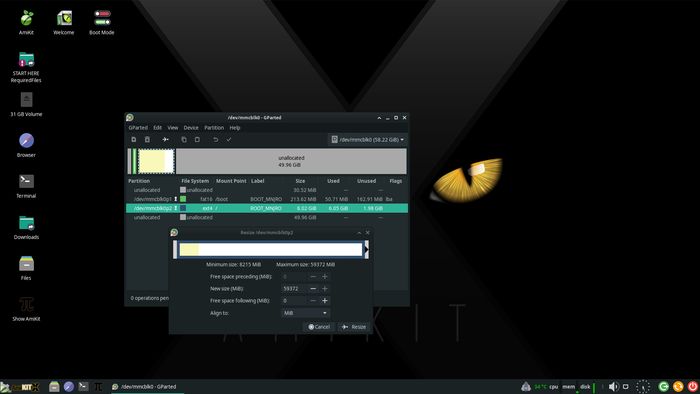
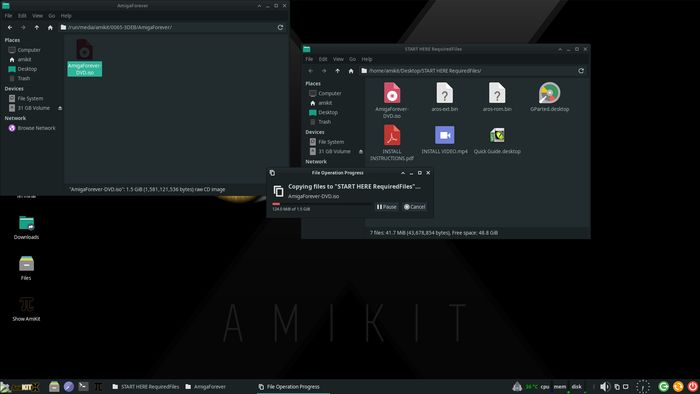
Step number two is to start the computer with inserted microSD card prepared in this way. What's now? We are seeing a Manjaro version for ARM processors. Next steps? At the beginning, I suggest to increase the disk (tool: Gparted), because at the beginning only a few hundred mega will be available, regardless of the capacity of our card. We can also configure a wireless network (I am using a cable connection) and confirm that we are the owners of the AmigaOS copy. The author recommends Amiga Forever package for this purpose. This is done using the "Build Image" function available in this tool. Upload the ISO file created in this way to a flash drive and copy it to Raspberry.
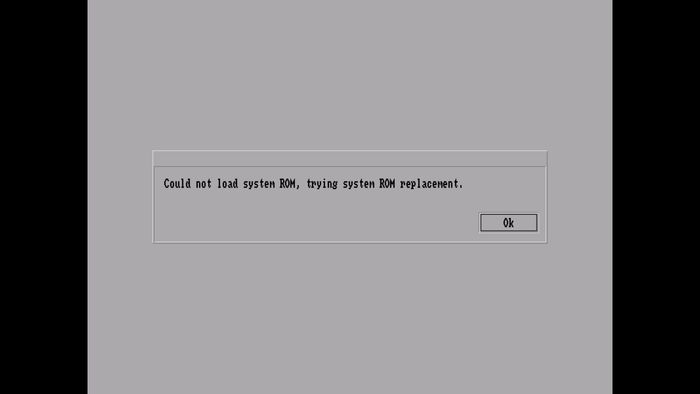
You should now select the CD-ROM drive in the Amiberry options and save the configuration. A bit complex, right? Fortunately, this is a one-time operation and we only do it the first time we run it. You can also throw in your own ROM file, but this is optional. In the case of the first launch, the system will download Picasso96 from the network.
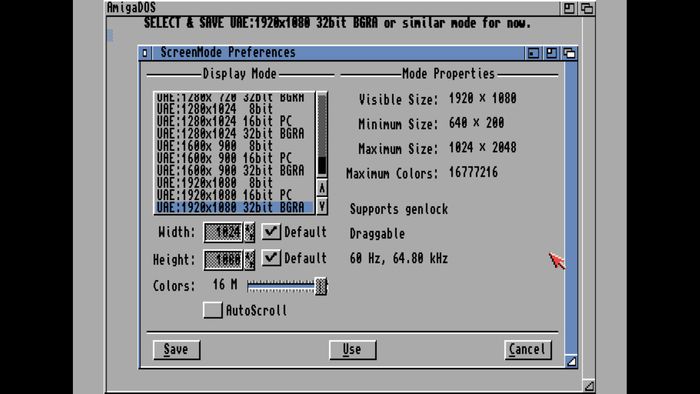
Monitor requirements - the author recommends 1920*1080, which is the standard for large, modern screens. Of course, this has nothing to do with the original Amiga parameters. Fortunately, the package also works with my vintage Samsung (15-year-old model with a 4:3 aspect ratio). The success of the installation depends only on the selection of the appropriate resolution for our monitor (for monitors in a 4: 3 ratio, I recommend 1280x1024, 32 bit)
In the settings, we can change whether we want to load the Linux desktop and then manually start AmiKit, or run the emulator immediately at startup, and return to Linux using the "Show Pi" icon. From the AmigaOS level, we also have access to the traditional "Rabbit hole", which allows you to run applications from Linux. We switch between the systems using the Pi icon. Here we have the modern and historical worlds harmoniously merged.
What will we find after launching? I might surprise you, but there is good old AmiKit XE out there. Just AmigaOS 3.x with loads of software installed, including games (there's Another World too). Everything works the same as in the PC version, it is stable and fast, but I have already written about it in Exec. In my opinion, we get exactly what we expected - AmiKit package for the Raspberry Pi.
Disadvantages? Identical to the version for Windows. Simply - everything is ready here. Some Amiga enthusiasts would like to sort it all out, install and tweak it all. There is no place for it here - we get a ready dish like in a restaurant. The second issue is more complex installation process than for Windows. Fortunately, the attached instructions and a movie will lead everyone by the hand. I tested the package on both the 400 and 4B models and it worked fine on both. Can I recommend? Yes, as long as you don't want to configure your AmigaOS from scratch. For them we have automation tools like HstWB.

